Install Visual Studio
For this lesson you’ll need to have Visual Studio installed. This course assumes you’re using Visual Studio Community Edition. You can get it here
Create a new project
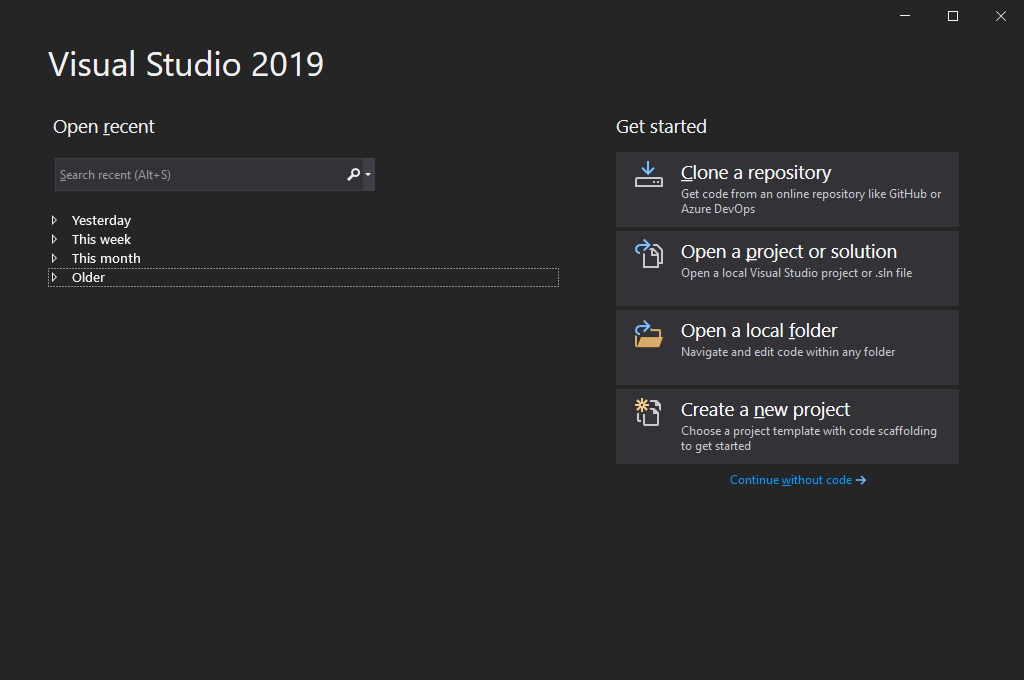
Open up Visual Studio and click on “Create a new project” on the bottom right:
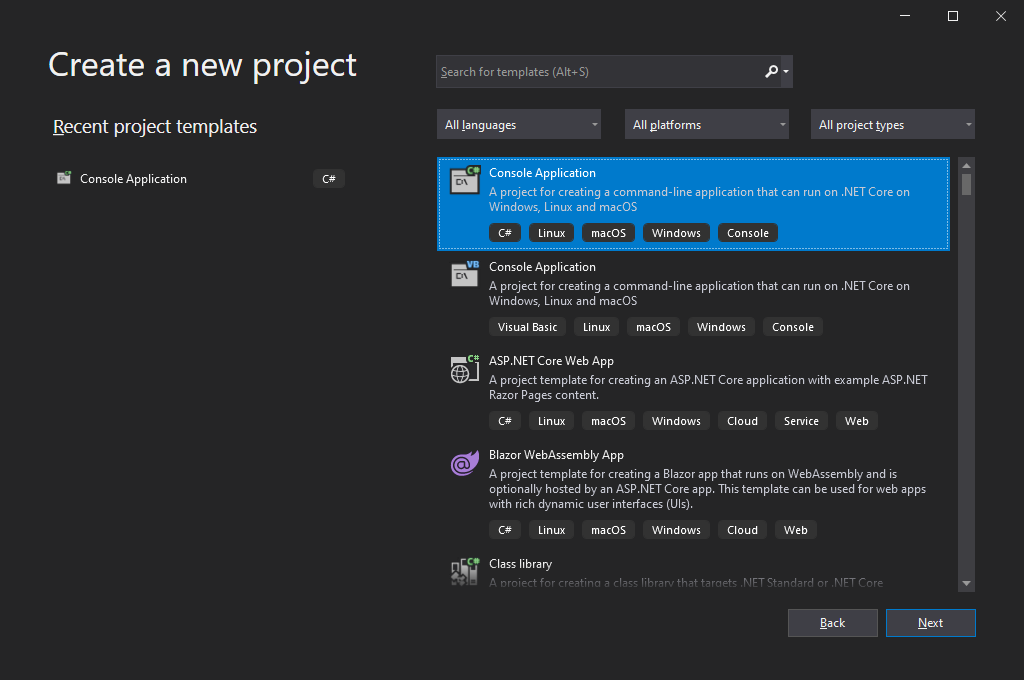
We are going to work with a C# Console application, so choose that option when prompted.
❗Note: If you don’t see an option to add a console application, you’ll need to select the option to install more tools and features, and install this additional feature in Visual Studio: “.NET desktop development”. See below:
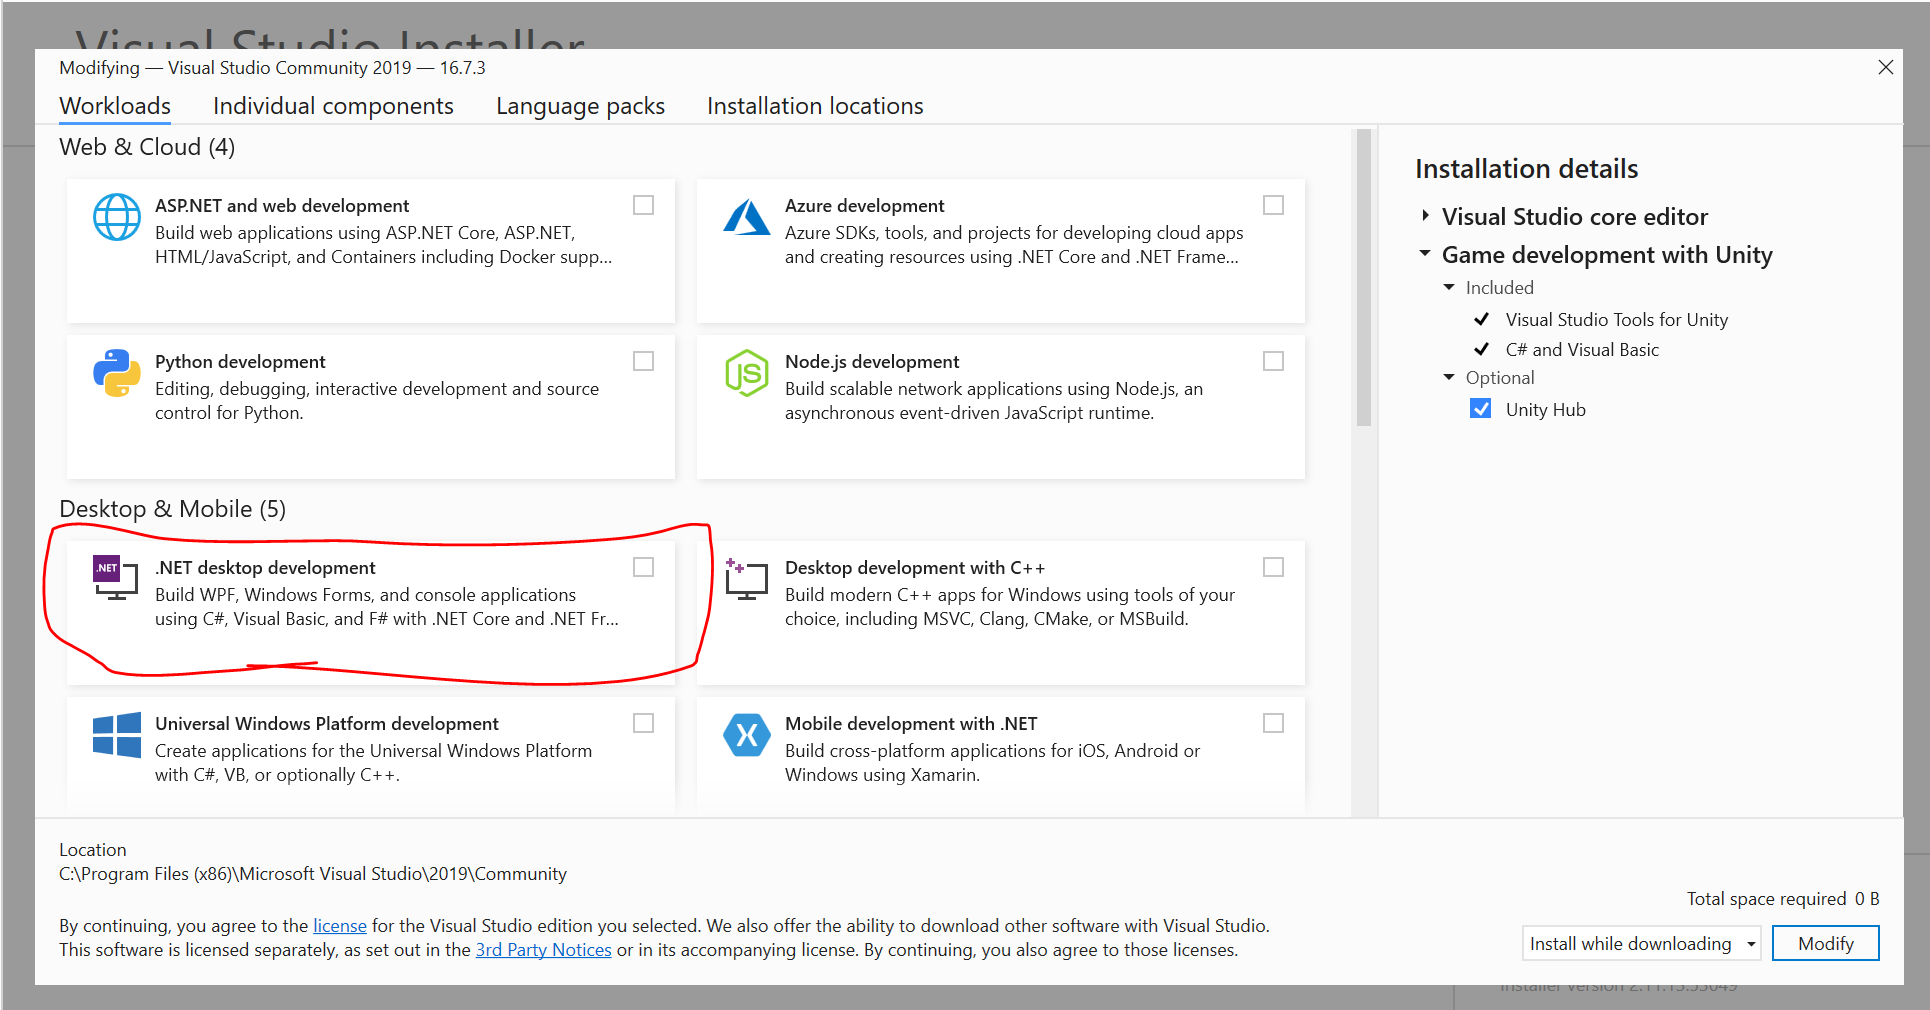
Once you’ve done that, go back to the “Create new project” dialog and select C# Console Application.
Configuring Your Project
Give your project a name. Let’s go with “MyFirstApp”.
Choose a location for your project that’s convenient - I recommend making a projects folder in your Documents folder using File Explorer (or Finder on a mac) , and selecting that for the Location.
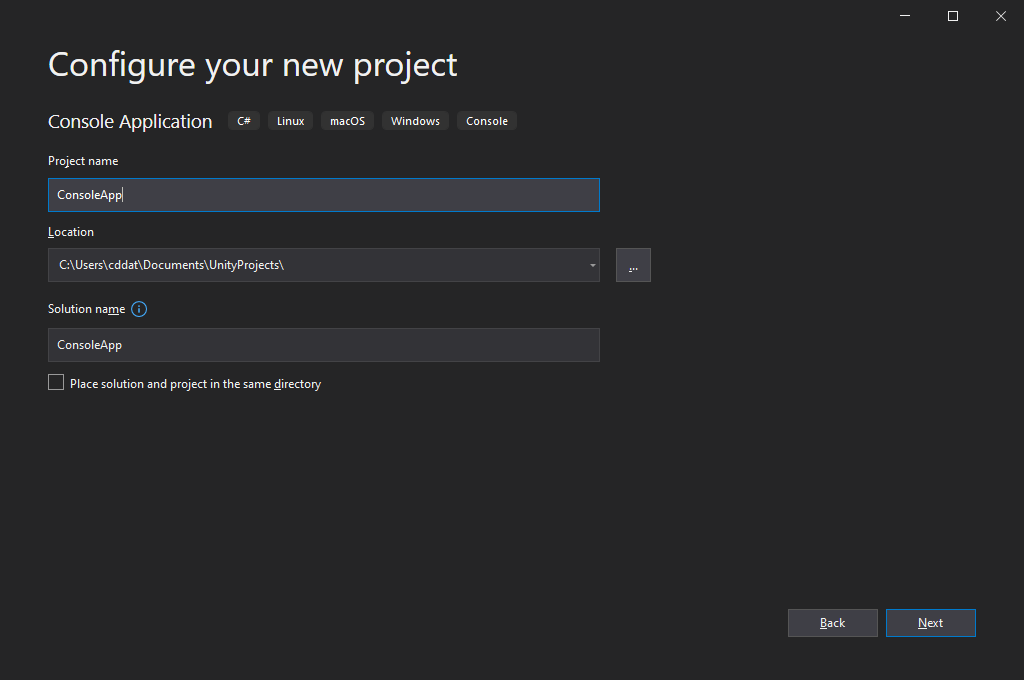
Then click Next.
Getting familiar with your project
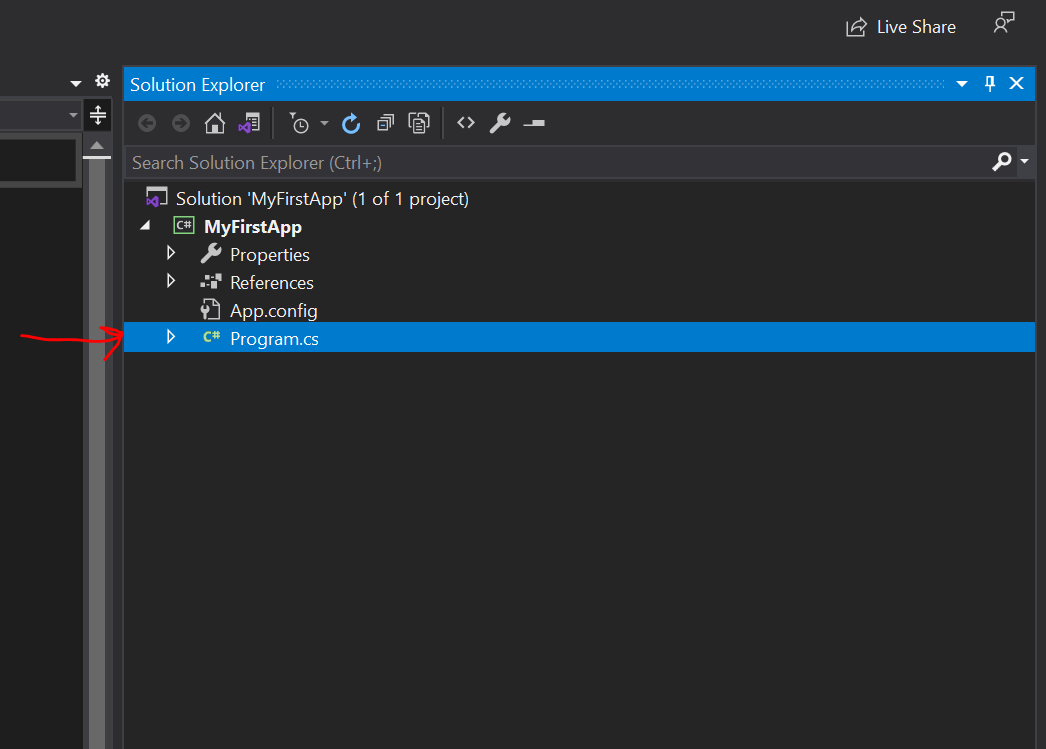
Now, we have a project with a single file in it called Program.cs.
Visual studio has a panel called Solution Explorer, and you should be able to see Program.cs listed there.
(If you don’t see the Solution Explorer, use the View->Solution Explorer option to bring it up)
Important Step: Update project framework setting
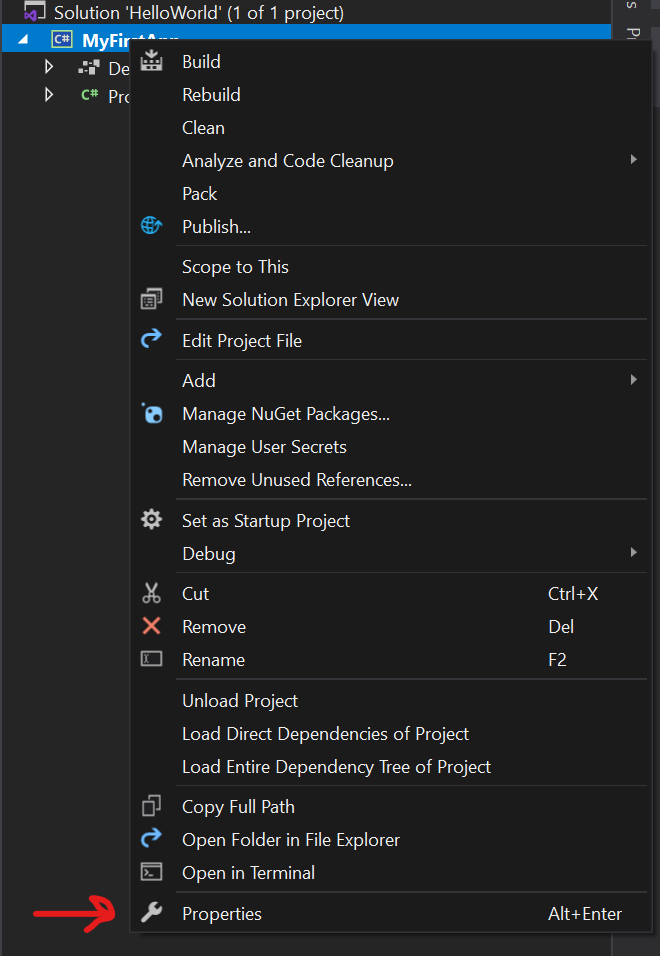
(These instructions are only necessary if you’re using Visual Studio 2019 or earlier. Visual Studio 2022 should “just work” out of the box) Before we move onto the next section, there’s one more thing we need to do. Find your solution explorer window, and right-click on the MyFirstApp project, and go to “properties”
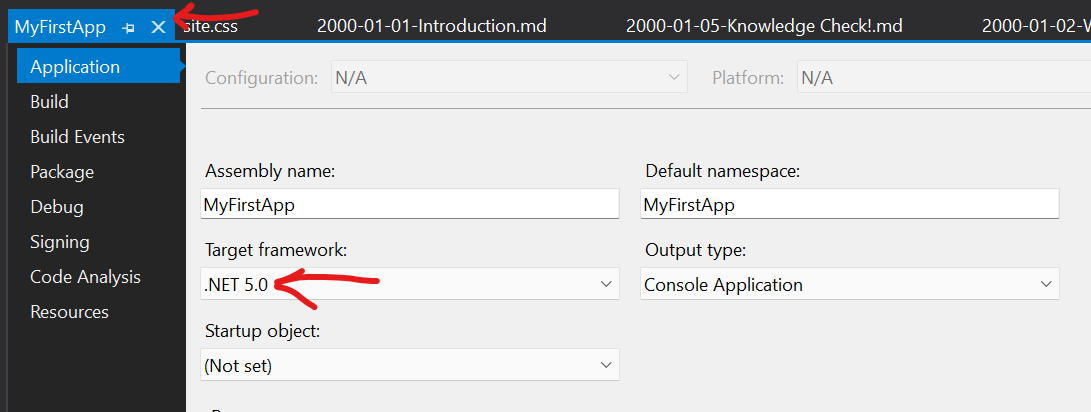
Change the Target framework setting to .NET 5.0, and then close the settings
That’s it! We are ready to write some code